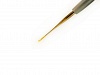
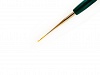
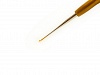
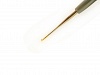
Wednesday, May 30, 2012

crochet hook size and conversion

Hi ,

for sharing, tulip crochet hook sizes

No. Size (mm)Type/material
1/0-2/0 1.80-2.00 Steel
2/0-3/0 2.00-2.20 Aluminium
3/0-4/0 2.20-2.50 Aluminium/Steel
3/0-5/0 2.20-3.00 Aluminium/Steel
4/0-6/0 2.50-3.50 Aluminium
5/0-6/0 3.00-3.50 Aluminium
5/0-7/0 3.00-4.00 Aluminium
7/0-8/0 4.00-5.00 Aluminium
7.5/0-9/0 4.50-5.50 Aluminium
8/0-10/0 5.00-6.00 Aluminium

Item No. Size (mm) Quality
1/0 1.80 Aluminium/Steel
2/0 2.00 Aluminium/Steel
3/0 2.20 Aluminium/Steel
4/0 2.50 Aluminium
5/0 3.00 Aluminium
6/0 3.50 Aluminium
7/0 4.00 Aluminium
7.5/0 4.50 Aluminium
8/0 5.00 Aluminium
9/0 5.50 Aluminium
10/0 6.00 Aluminium

Friday, May 25, 2012

Bunga kain(cloth flower)

Hi...salam semua... sungguh lama rasanya tak menjenguk kesini... adala dekat dua bulan dah... many thing happened lately.. sekang ni baru ada masa sikit nak mengupdate blog yang tak seberapa ni.so hari ni aku nam ambik kesempatan ni untuk share ngan korang semua cara untuk membuat bunga kain atau cloth flower yang sungguh mudah ini... pejam mata pun boleh buat( pejam sebelah je la...hehehe)

so antara kelengkapan yang diperlukan untuk membuat bunga ini:
1. Mestila kena ada kain dah namanya bunga kain. Kain tak kisah apa kain pun boleh pakai tapi yang akan nampak lebih klas sikit bila jadi bunga ni ialah kain satin , organza atau velvet.
2. gunting kain yang tajam, jarum dan benang untuk menjahit
3. seterika untuk iron kain sebelum dipotong supaya neat sikit
4. apa apa benda yang boleh menghasilkan bentuk bulat. dalam kes aku ni aku gunakan gelas plastik. tapi ada member aku gunakan cookies cutter pastu dia stamp atas big stamp pad then cop je atas kain...ok jugak sebab boleh save masa lukis bulatan tu.
5. butang atau manik sebagai hiasan.

Langkah-langkah (steps)
1. First Iron kain tu untuk menghilangkan segala kedutan. kalau tak berkedut tak payah la iron

2. tekap bentuk bulat  atas kain
3. buat sebanyak mana yang dipelukan. FYI satu kuntum bunga biasa menggunakan 5 bulatan.
3. Lipat bulatan kepada 2 bahagian
4. Lipat lagi kepada 2 bahagian hingga jadi suku bulatan. Iron kalau rajin supaya bentuknya stay (aku suggestkan iron..) Kat sini depend pada korang. kalau rajin korang boleh jahit bahagian lengkungan itu menggunakan mesin jahit kalau tak biar je camtu...aku tak jahit pun.
5. stelah dapat cukup kelopak yang diperlukan kita boleh mula cantumkan kelopak ni.

6. cantumkan dengan jahitan jelujur satu demi satu kelopak tersebut

7. setelah cukup lima kelopak ( atau jumlah kelopak yg korang nak) tarik ketat2 supaya semua kelopak  bertemu
8. cantumkan kelopak pertama dengan yang terakhir dan jahit.
9. kat tengah tu untuk  menghilangkan kesan jahitan boleh letak butang atau manik. boleh gunakan gam atau jahit.

10. untuk kemaskan bahagian bawah aku gunakan felt. yang ni kalau nak jadikan kerongsang boleh terus jahit atau gam pin kerongsang gunakan gam lilin.
tadaaaaa....siappun. boleh le dijadikan hiasan baju, buat kerongsang, letak kat cekak rambut, sepit dan sebagainya.... mudahkan...okeh..sila pejam mata dan buat versi korang punya....


sample dari  organza yang aku gunakan sebagai button my dear daughter shrug...
versi dari black velvet


Tuesday, April 17, 2012

basic crochet
Introduction
CROCHET is really quite easy to learn.  As in any handicraft, there just a few simple rules to follow during practice. Soon, you will be able to  make all the things here , for yourself or as presents for your family and friends. Later you will be able to work more difficult patterns , or even think up some new ones by yourself.
For your crochet you will need:
1.       A crochet hook size 5.00
2.       Several little balls of bright coloured double crepe ( or similar thickness) wool for practice
3.       A small pair of sharp scissors to cut the wool
4.       A blunt-ended wool needle with a big eye , for sewing up your work
5.       A ruler, or tape measure, marked in centimetres.
6.       A workbag, or box, to keep everything together, neatly and tidily

A few words of advice:
Always remember:
1.       Wash your hands and dry then well before crochet word begin
2.       Keep your fingers , hands and wrist quite relaxed, never stiff.
3.       Reverse the instructions if you are LEFT HENDED. That is, where the directions say RIGHT hand , use your LEFT , where the directions say LEFT , use your RIGHT. If you prop up this manual and place a small mirror opposite each picture the difference will be easier to follow.
4.       Keep the hooked-end facing you as you work. Never twiddle the hook around as you make a stitch.
5.       Form the habit of counting the stitches every row.It is so easy to miss one, especially the last stitch.
6.       Learn the shortened terms in crochet, called abbreviations, as you work through these pages. You will find a list of them on the inside back cover. Later on in the the manual, they are shown in brackets(…) against the full word.


First steps

Crochet begins with a slip loop which can be moved easily along the stem of the hook.


To make the slip loop

1.       In the left hand, take the end of  a ball of wool and form it into a ring. Hold the ring between your thumb and first finger, and drop the part leading to the ball down the back of the ring as shown(picture 1)

2.       Take the crochet hook in the other hand, holding it as you would a pencil, between thumb and first finger and at the  flattened  part of the stem (picture 2)

3.       Put the hooked end  right under the middle thread in the ring, catching the wool in the hooked end (picture 3)

4.       Now, keeping the loop on the hook, pull this middle thread through until the loop closes over the stem and slip easily along (picture 4 )

Thursday, April 12, 2012

FAQ: jenis benang yang sesuai

Saya menerima soalan ini melalui sms dan ingin saya kongsi jawapan saya pada soalan ini untuk faedah bersama:

Salam.. sy nak buat sedikit pertanyaan ... sy nak mengait sweater n baby booties dan juga beg.. benang kait yang mana sesuai yer sbb sy baru nak mula mengait..

j: Benang kait yang sesuai untuk sweater n baby booties selalunya dari jenis wool atau wool+acrylic atau sport weight cotton atau bamboo atau mana2 campuran cotton. untuk sweater benang yang dipilih perlu memenuhi fungsi sweater iaitu memanaskan badan dan memberikan haba ketika sejuk. Benang untuk sweater juga perlu selesa kepada pemakainya terutamanya jika sweater tersebut untuk bayi kerana kulit bayi lebih sensitif. Antara benang yang boleh dicadangkan untuk sweater ialah:
1.http://www.melur.com/prod_detail.asp?owner=deenorh&category=ALL&item_id=513
2. http://www.melur.com/prod_detail.asp?owner=deenorh&category=ALL&item_id=498
3.http://www.melur.com/prod_detail.asp?owner=deenorh&category=ALL&item_id=491
4.http://www.melur.com/prod_detail.asp?owner=deenorh&category=ALL&item_id=480

Untuk booties pula ,oleh kerana kulit kaki yang lebih tahan berbanding dengan bahagian lain, jenis benang yang digunakan tidak perlu difikirkan sangat kerana kebanyakan benang boleh digunakan untuk mengait booties. Jenis akrilik biasa dari jenama tempatan seperti nona dan minlon juga boleh digunakan. Namun jenis worse weight 100% cotton seperti peach and creme menghansilkan booties yang lebih cantik dan menyerap peluh.

yg sy beli skrg adalah benang kait minlon yang kasar n cpt berbulu.. nak kait pon susah skit..

J: benang tempatan akrilik dari jenis minlon memang senang pecah dan cepat berbulu terutamanya jika dipakai berulangkali. Benang nona lebih menjadi pilihan kerana teksturnya yang lebih kemas berbanding dengan minlon.

boleh sy tau jenis apa yg sesuai n still available lg ke dlm katalog Deenor Haberdashery..?

J: katalog deenor haberdashery sentiasa di kemaskini dari masa kesemasa. jadi anda boleh mengetahui berapa bilangan item yang tersedia dikedai berdasarkan jumlah stok pada katalog. walaubagaimana pun jika item tersebut dibeli dikedai pada hari yang sama , kuantiti yang dibeli itu akan ditolak dari katalog pada hari berikutnya.

lagi 1 sy nak tanya kalo sy buat pembelian contohnya peach n creme -tropical sea rm 15 tu mksd nye segulung atau dalam sekotak ade berapa gulung..? itu sahaja sbb sy berminat nak mengorder n membeli benang kait ni..hehehe..TQ

J: kuantiti yang ditunjukkan di katalog deenor haberdashery ialah untuk segulung sahaja.

Friday, March 30, 2012

peralatan untuk crochet

saya ada menerima soalan ini:
"sy baru belajar dlm kait mengait ni. so, x brp tahu tentg brg2 yg dgunakn utk mengait terutama skali jarum kait. bila ke kedai mcm2 jenis jarum kait. takut trsalah beli. bila trjumpa Deenor Haberdashery ni, sy ingin brtnya la tntg brg yg dperlukn utk mengait bg org yg baru nk bljr ni..dan lbh mudah la sy order brg2 itu d Deenor Haberdashery. t.kasih ye.."


Untuk yang bertanya, pertama sekali saya mengucapkan tahniah kerana anda baru saja memilih hobi yang berasal dari ribuan tahun lalu namun hingga kini ia tetap dipraktikkan dan semakin berkembang. Anda akan menempuh pelbagai pengalaman mengujakan dalam menghasilkan pelbagai rekaaan crochet mengikut kreativiti anda sendiri.

mengenai peralatan yang diperlukan untuk belajar crochet:

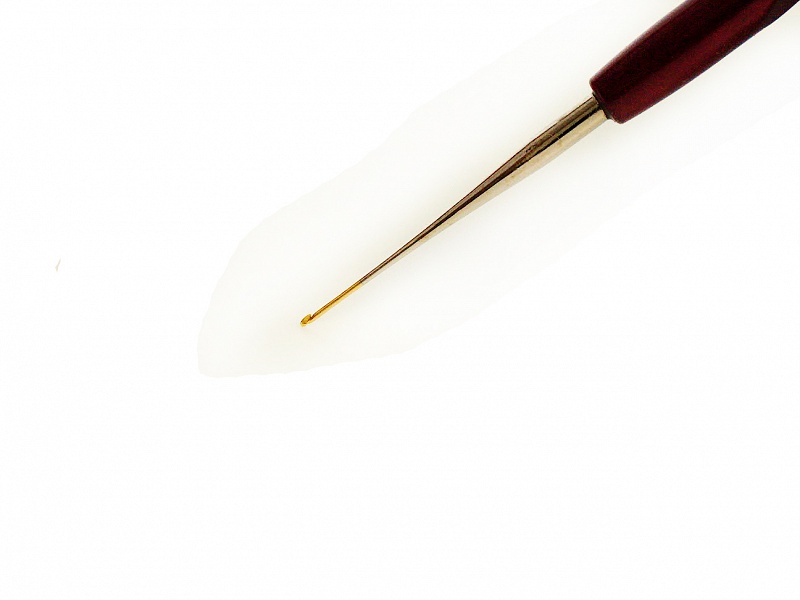
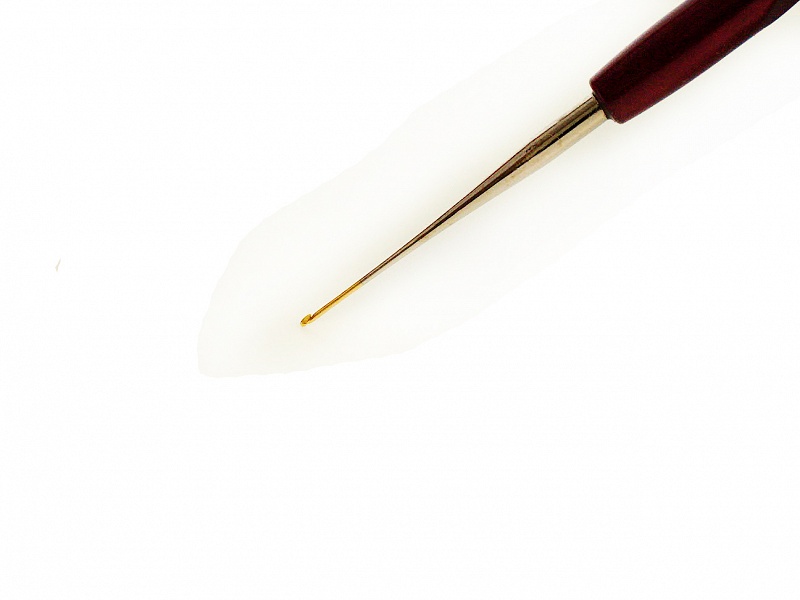
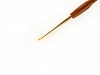
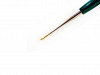
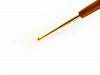
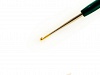
1. Jarum kait( crochet hook). saix yang paling sesuai untuk yang baru berjinak-jinak dengan crochet ialah antara 2mm-4mm. Ada yang mengatakan jarum tulip 3 mm merupakan yang paling selesa untuk yang baru belajar.jenis jarum pula banya..tapi jenis yang diperbuat dari aluminium lebih ringan berbanding dengan jenis besi. Dipasaran sekarang terdapat pelbagai jarum argonomik yang direka untuk keselesaan penggunanya seperti contohnya jarum tulip dengan handle plastik ini

Tulip Plastic Handle Crochet Hook Deenor Haberdashery

SKU : acs-141

Pictures


Color Options


2. benang kait. benang kait yang paling sesuai untuk yang mula belajar ialah dari jenis dk ( double knit). benang ini selalunya adalah 4 helai benang yang digabung menjadi satu ( 4 ply). kalau dimalaysia. benang jenis ini yang biasa dijumpai ialah benang bulu kambing jenama nona dan minlon

3. Gunting yang tajam.

5. jarum tapestry . digunakan untuk mencantum atau menjahit fabrik yang telah dikait.

Tuesday, March 27, 2012

lil african voilet.


i really love african violet. i start to grow them when one of friend give one leave to me and ask me to grow it. eventhough it take weeks to month before the first leave grow into plant it grow with me in my office table for more than five years. during that time i have breed  the plant into many2 plants and give it to many2 people until i cound not remember how many.when i move office i leave the plant in the pantry of my old office. i hope it stay survive until now.At one point i become obsessed with african violet and collect many2 colors of them...every trip to cameron highland must return with one or two or three or more african violet. But the plant cannot stay survive for long in our weather unless we keep in the office which have more that 16 hours aircond on.some information i gather for this plant is available at melur.com
as many of you know...i love to crochet...so when both passion collide here is the result a crocheted african violet.  i have seen one of my fb friend posted a photo of crocheted african violet but i could not find a (free..:-)) pattern for it. so i invented ( huh ...such a big word) one of my own and here is the result. it is not so similar but ok lah...resemble lah...hahaha...so let me share the simple pattern with you all:

The Leaves (make 8)
  • Ch 3. Join with slip stitch to form ring. or perform a ring using magic loop
  • Rnd 1: 6 sc in ring. Slip stitch into first sc to join round; chain 1, turn  
  • Rnd 2: 2 sc in each sc around (12 stitches). Slip stitch into first sc to join round; chain 1, turn  Round 3: *sc in first stitch then 2 sc in next stitch* repeat all the way around (18 stitches). Slip stitch into first sc to join round; chain 1, turn
  • Rnd 4: *sc in each of the first two stitches, then 2 sc in next stitch* repeat all the way around (24 stitches). Slip stitch into first sc to join round; chain 1, turn.
  • Rnd 5: *sc in each of the first three stitches, then 2 sc in next stitch* repeat all the way around (30 stitches). Slip stitch into first sc to join round; chain 1, turn
  • Rnd 6: *sc in each of the first four stitches, then 2 sc in next stitch* repeat all the way around (36 stitches). Slip stitch into first sc to join round; chain 1, turn
  • Rnd 7: *sc in each of the first five stitches, then 2 sc in next stitch* repeat all the way around (42 stitches). Slip stitch into first sc to join round. 
  • keep on increasing if you want the leave to be bigger but i stop at round 7. fasten of
The Flower ( make 5 or  as many as you like)
  • with yellow color, Ch 3. Join with slip stitch to form ring. or perform a ring using magic loop.
  • rnd 1: ch1 , 10 sc in the ring.Slip stitch into first sc to join round. fasten off
  • rnd 2: with purple yarn ,(* ch1 ,hc ,dc,tr,dc,hc in the next sp. sc in the next sp). repeat from * until all 10 sp is occupied. you should have 5 petals flower . fasten off
The pot ( make 1)
  • Ch 3. and form a ring
  • rnd 1: 6 sc in in the ring
  • rnd 2: 2 sc in each  st (12)
  • rnd 3: [1 sc, 2 sc in next st] rep around (18)
  • rnd 4: [2 sc, 2 sc in next st] rep around (24)
  • rnd 5-7 (3 rnds): 1 sc in ea st (24)
  • rnd 8: [3 sc, 2 sc in next st] rep around (30)
  • rnd 9-11 (3 rnds): 1 sc in ea st (30) sl st to join at the end of rnd 11
  • rnd 12: ch 2 (counts as 1 dc). In back loops only – 1 dc in ea st (30)
  • invisible join and Fasten Off


To assemble:
  • with tapestry needle and same leave yarn,  sew 3 leaves together
  • arrange the flower nicely on the top of the 3 leaves and sew it securely
  • arrange another 5 leaves evenly at bottom of 3 leaves.
  • insert the pot with polyester fiber firmly. put the assembled african violet on the top of the pot opening  and sew it around.

Monday, March 19, 2012

tips to store your WIP

being mobile all the time, spending 2-3 hours driving thru a heavy trafic jam to and fro work everyday i hooked to a not-so-good habit while driving. I knit, crochet, embroider and what-so-ever at red lights. The problem while working at trafic light stop is you have to organize the yarns and needle properly so it wont tangle when you have to move your vehicle after the light turns green. i found that storing my yarns in zipper bag is the easiest way to keep the work tidy.  i choose to hold yarn differently too while driving. normally i prefer continental style but while driving i will hold it in English style.
warning!!: this is not a good habit and please not to get yourself use to it. I plan to stop one day...juzz dont know when.

LinkWithin

Related Posts with Thumbnails